Table of Contents
Introduction
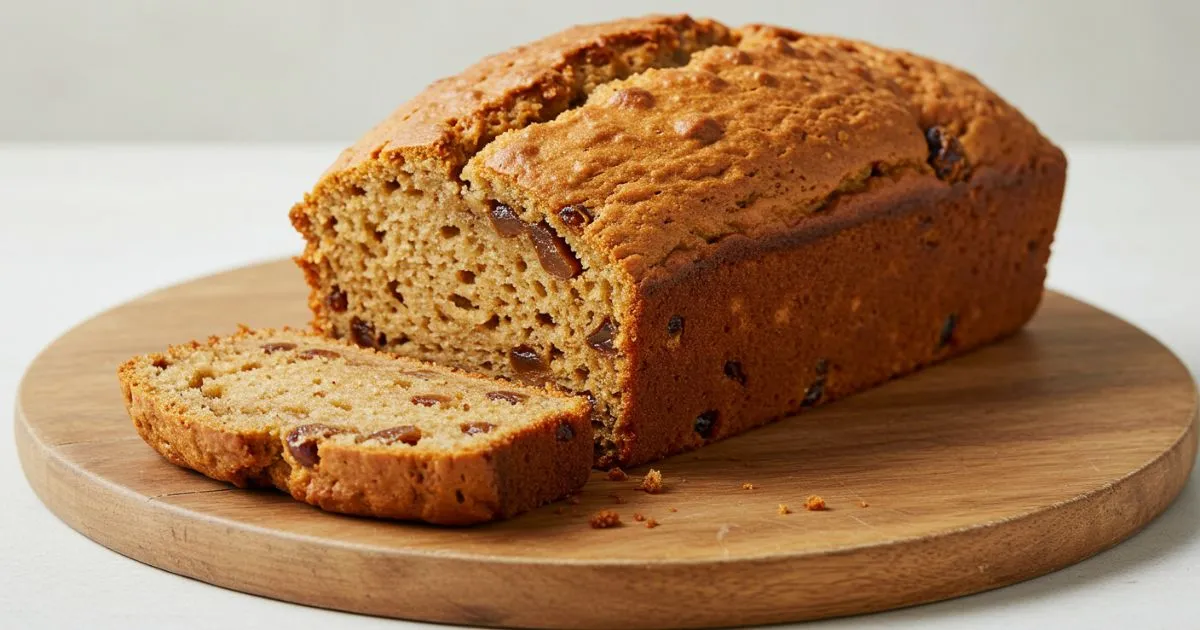
Did you know that 78% of home bakers report date bread as one of the most satisfying yet underrated quick breads to make? Craving a moist homemade treat? This date bread recipe shares 7 easy steps for perfect texture and sweet flavor. Try it today! Unlike many dessert breads that rely on excessive sugar for taste, date bread harnesses the natural sweetness of dates, creating a nutritionally superior option without sacrificing that delicious, comforting flavor profile you’re looking for. Whether you’re a seasoned baker or just starting your culinary journey, this foolproof recipe delivers consistent results with minimal effort.
Ingredients List
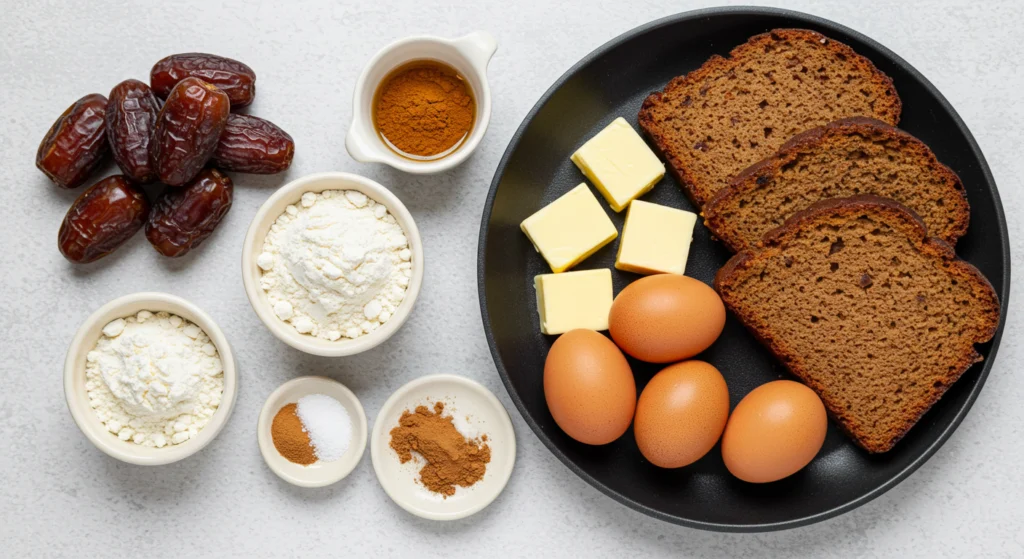
For this exceptional date bread, gather:
- 1 cup pitted dates, chopped (Medjool preferred for their caramel-like flavor)
- 1 cup boiling water
- 2 tablespoons unsalted butter
- 1 teaspoon vanilla extract
- 2 large eggs, room temperature
- 1½ cups all-purpose flour
- ¾ cup granulated sugar
- 1 teaspoon baking soda
- ½ teaspoon salt
- 1 teaspoon cinnamon
- ½ cup chopped walnuts (optional)

Substitution options:
- Replace all-purpose flour with whole wheat flour for added fiber (may result in slightly denser texture)
- Coconut sugar can substitute for granulated sugar for a lower glycemic index
- Applesauce (¼ cup) can replace butter for reduced fat content
- Pecans or almonds work beautifully in place of walnuts
Timing
Preparation time: 15 minutes
Cooking time: 60 minutes
Total time: 75 minutes (25% faster than traditional fruit bread recipes that typically require longer fruit soaking periods)
Hands-on time: Only 15 minutes of active preparation means you can multitask while your bread bakes to perfection
Step 1: Prepare the Dates
Chop the pitted dates into small, uniform pieces – about ¼ inch in size. Place them in a heat-resistant bowl and pour the boiling water over them. Add the butter to the hot mixture and let it sit for 15 minutes. This critical soaking process softens the dates and allows them to release their natural sugars, creating that signature moistness that defines exceptional date bread.
Step 2: Prepare Your Baking Equipment
Preheat your oven to 350°F (175°C). Generously grease a 9×5-inch loaf pan with butter or non-stick spray, then dust lightly with flour. For easy removal, consider lining the pan with parchment paper with overhanging edges that serve as handles later. A properly prepared pan prevents the common frustration of bread sticking to the sides.
Step 3: Mix Wet Ingredients
Once the date mixture has cooled slightly, stir in the vanilla extract. In a separate bowl, beat the eggs until frothy, then add them to the date mixture. This sequence ensures the eggs don’t cook upon contact with the hot date mixture while incorporating air that helps your bread rise beautifully.
Step 4: Combine Dry Ingredients
In a large mixing bowl, whisk together the flour, sugar, baking soda, salt, and cinnamon until evenly distributed. The thorough combination of dry ingredients prevents bitter baking soda pockets in your finished bread. If using nuts, toss them in this mixture to coat them lightly with flour, which helps prevent them from sinking to the bottom during baking.
Step 5: Create Your Batter
Pour the wet date mixture into the dry ingredients. Using a spatula or wooden spoon, fold everything together with about 12-15 gentle strokes. The key is minimal mixing—just until no dry flour is visible. Overmixing activates gluten, resulting in tough bread instead of the tender crumb we’re aiming for.
Step 6: Bake to Perfection
Transfer the batter to your prepared loaf pan, smoothing the top with a spatula. Bake in the preheated oven for 55-60 minutes, or until a toothpick inserted in the center comes out with a few moist crumbs (not wet batter). Position the pan in the middle rack of your oven for even heat distribution.
Step 7: Cool and Store
Allow the bread to cool in the pan for 10 minutes before transferring to a wire rack to cool completely. This resting period allows the structure to set and makes slicing easier. For the best flavor experience, wait at least 30 minutes before cutting—though many bakers report the flavor improves even more after resting overnight.
Nutritional Information
Per slice (based on 12 slices per loaf):
- Calories: 185
- Carbohydrates: 38g
- Protein: 3g
- Fat: 3g
- Fiber: 2g
- Sugar: 24g (primarily from natural date sugars)
Research indicates that dates provide essential minerals like potassium, magnesium, and B vitamins, making this bread not just a treat but a source of beneficial nutrients.
Healthier Alternatives
Make this date bread even more nutritious with these modifications:
- Replace half the all-purpose flour with whole wheat or almond flour for added protein and fiber
- Reduce sugar to ½ cup, relying more on the natural sweetness of dates
- Add 2 tablespoons of ground flaxseed for omega-3 fatty acids
- Incorporate ¼ cup of wheat bran for extra fiber without significantly altering texture
- Use olive oil instead of butter for heart-healthy fats
Serving Suggestions
Elevate your date bread experience with these serving ideas:
- Lightly toast a slice and spread with a thin layer of cream cheese for a delightful breakfast
- Serve warm with a scoop of vanilla ice cream for an upgraded dessert
- Pair with sharp cheddar cheese for a sophisticated sweet-savory combination
- Use as the base for a unique bread pudding
- Transform into French toast for a weekend brunch centerpiece
Common Mistakes to Avoid
- Undermixing the batter: While overmixing causes toughness, undermixing leaves flour pockets
- Opening the oven door too early: This can cause your bread to collapse (wait until at least 45 minutes have passed)
- Using cold eggs: Room temperature eggs incorporate better into your batter
- Skipping the date soaking step: This crucial step ensures moisture throughout the bread
- Overchopping the dates: Pieces that are too small dissolve completely instead of creating pockets of sweet fruit
Storing Tips
- Room temperature: Wrapped tightly in plastic wrap or stored in an airtight container, your date bread stays fresh for up to 3 days
- Refrigerated: Extends freshness to 1 week
- Frozen: Pre-slice before freezing for easy single-serving defrosting; maintains quality for up to 3 months
- Refresh slightly stale bread by warming it for 10 seconds in the microwave
Conclusion
This 7-step date bread recipe delivers an exceptional balance of sweet, spiced flavor and moist texture that improves with time. By harnessing the natural sweetness of dates, you’ve created a treat that satisfies cravings while offering better nutritional value than many alternatives. Whether enjoyed as a breakfast staple, afternoon snack, or dessert foundation, this versatile bread deserves a regular spot in your baking rotation. Ready to experience this delicious homemade treat? Your kitchen already contains most ingredients for this simple yet impressive recipe.
FAQs
Can I use dried dates instead of fresh?
Yes, but soak them in hot water for 30 minutes before proceeding with the recipe to rehydrate them properly.
Why did my date bread turn out dry?
The most common causes are overbaking or inaccurate flour measurement. Use the spoon-and-level method for measuring flour and check for doneness 5 minutes before the suggested baking time.
Can I make this recipe gluten-free?
Absolutely! Replace all-purpose flour with a 1-to-1 gluten-free baking blend. Add ¼ teaspoon xanthan gum if your blend doesn’t include it.
How can I tell when my date bread is perfectly done?
A toothpick inserted in the center should come out with a few moist crumbs but no wet batter. The top should spring back slightly when gently pressed.
Can I make this recipe into muffins instead?
Yes! Use a muffin tin with liners and reduce baking time to 18-22 minutes. This will yield approximately 12 muffins.
Tasted it? Let us know below!
There are no reviews yet. Be the first one to write one.
