
Introduction:
Craving dessert without the guilt? Stevia brownies naturally satisfy your sweet tooth with fewer carbs and no added sugar. Try this healthy recipe today! Are you tired of the post-dessert sugar crash, the guilt that follows indulging in a sweet treat? You’re not alone. Millions are searching for ways to enjoy their favorite comfort foods without derailing their health goals. But what if I told you there’s a way to enjoy rich, decadent brownies without traditional refined sugar? What if I told you that your desire for a satisfying, sweet experience could align perfectly with your desire for a healthier lifestyle? Our Stevia brownie recipe is more than just a dessert; it’s a bridge between your cravings and your well-being. It’s designed for those who want to make conscious choices without sacrificing joy. Ready to redefine your dessert experience?
Ingredients List

The process of making the perfect guilt-free brownie starts by selecting the finest ingredients. Here’s what you’ll need
- 1/2 cup butter that is unsalted melting: Adds richness and makes that gooey, signature center.
- 1 cup unsweetened cocoa powder To give a strong chocolate flavor. You can use Dutch-processed cocoa to get a smoother and less bitter taste.
- 1 teaspoon baking soda: It helps brownies to rise a bit.
- Salt 1/4 cup: Adds a chocolate-like flavor.
- 2 eggs large: Bind the ingredients together and help create the texture.
- 1 Cup Stevia Granulated Sweetener Our most popular ingredient that provides sweetness without sugar. You can adjust the sweetness to your preference. of sweetness.
- One teaspoon of vanilla extract It gives a warming aromatic flavor and aroma.
- 1/2 cup all-purpose flour: Provides structure. If you are looking for a gluten-free alternative you can substitute almond flour or a gluten-free all-purpose blend.
- 1 cup of sugar-free chips (optional): Elevates the experience of chocolate. Find brands that are which are sweetened by Stevia or Erythritol.
The ingredients chosen are selected with care to provide maximum flavor and little sugar-related impact.
Timing
In fact, getting this tasty Stevia brownies from the cupboard to your table is quite fast.
- Time to prepare: 15 minutes
- Time to bake: 20-25 minutes
- Time: Approximately 40 minutes
It’s significantly quicker than the traditional recipes for baking, typically needing an hour or more of preparation and baking. In under a half hour, you’ll be enjoying the warm chocolatey delights guilt-free treat.
Step-by-Step Instructions
How to make the Brownies with Steviais an easy task. Follow these easy steps to ensure baking the perfect brownie:
Step 1: Preheat and Prep
The oven should be at 350 degrees F (175degC). Grease an 8×8-inch baking pan and cover it with parchment leaving an extra overhang on the sides. This will make lifting the final brownies much simpler.
Step 2: Whisk Dry Ingredients
in a large bowl mix together the cocoa powder that is unsweetened baking powder, cocoa powder, and salt. Be sure that there aren’t any lumps of cocoa powder to create a uniform batter.
Step 3: Combine Wet Ingredients
In a separate bowl, whisk the butter that has been melted and Stevia granulated sweetener along with vanilla extract to ensure that it is blended. This will form the base of our naturally sweetened snack.
Step 4: Add Eggs
Incorporate the eggs, one at a time in the mix, stirring thoroughly after each one until the eggs are completely in the mix. This helps to emulsify the mixture and creates a fudgy texture.
Step 5: Combine Wet and Dry
Add dry ingredients to wet ingredients, blending until the ingredients are just mixed. Be careful not to mix too much since this could result in hard brownies.
Step 6: Fold in Flour and Optional Chocolate Chips
Fold into your all purpose flour till there are no dried streaks are left. If you are using it to add chocolate chips that are sugar-free now.
Step 7: Pour and Bake
Put the batter inside the banking pan and evenly spread it. Bake for 20-25 minutes and until a toothpick placed into the center of the pan comes through with moist, browned crumbs nevertheless, it is not wet. Keep in mind that brownies baked underbake are the key to that smoky center.
Step 8: Cool and Serve
Cool the brownies to room temperature in the oven and then place them on wire racks before taking them up by removing the parchment paper cover then cutting into small squares. This lets them be set correctly.
Nutritional Information
The choice of Stevia-based brownies provides significant nutritional benefits. While the exact values will differ according to the ingredients that are employed, here’s an concept of what to anticipate if you compare it to traditional brownies:
- Sugar The reduction is dramatic (potentially 90% reduction) due to Stevia.
- Calories Significantly lower because of the reduced sugar content.
- Carbohydrates Less net carbohydrates (total carbs without sugar alcohols and fiber).
- Fiber It can be comparable to, or slightly less than traditional recipes, based on the your choice of flour.
The research suggests that substituting sugar with Stevia could lower the glycemic load of baked goods by up to 70% when compared to sugar-sweetened versions. This means that Stevia brownies an ideal option for managing blood sugar.
Healthier Alternatives for the Recipe
Make the sweet treats even more healthy is a breeze with just a few changes:
- To increase the amount of fiber in your diet: Substitute half of the all-purpose flour for whole wheat flour. This will provide more fibre and have a slight nuttier taste.
- To get healthier fats Replace half the butter by unsweetened applesauce, or Greek yogurt. This will reduce saturated fat while also preserving the moisture.
- To increase the protein content: Incorporate a scoop of protein powder unsweetened (ensure that it’s stable in the oven). This could provide you with a boost of protein for your meal.
- To make a vegan alternative: Use a flax egg (1 2 tablespoons ground flaxseed with 3 tbsp of water, leave for 5 minutes each egg) as well as a plant-based butter alternative.
Explore these options to find the right combination that suits your needs and tastes.
Serving Suggestions

The Brownies made with Stevia are amazing on their own however, here are some inventive ways to enhance the flavor of your dessert:
- Serve warm with a scoop Warm it up with a scoop sugar-free whipped topping or a scoop of vanilla sugar-free Ice Cream.
- The fruity flavor: Top with fresh fruit like strawberries or raspberries to give you a blast of pure sweetness as well as antioxidants.
- Nut crunch Mix in chopped nuts such as walnuts or pecans to give it a bit of flavor as well as healthy fats.
- chocolate drizzle drizzle with chocolate that has been melted to add an extra layer of chocolaty delight. Explore different flavors, such as milk or dark sugar-free chocolate.
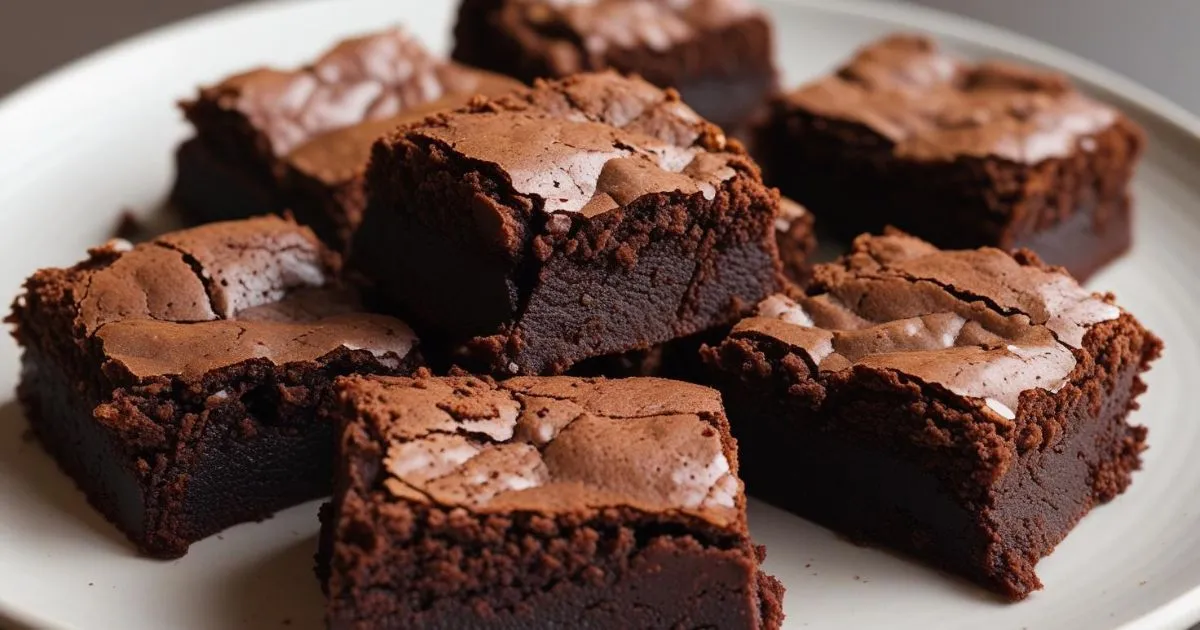
Picture a hot brownie that is with a little gooey center and topped with fresh raspberries, and a light sprinkle of cocoa. It’s a simple pleasure and a little bit refined.
Common Mistakes to Avoid
Even the most experienced bakers make mistakes. Here are a few of the most common errors to avoid while making the Stevia-based brownies:
- The batter is overmixed: It creates gluten within the flour, which results in cakey, hard brownies, not fluffy ones. Mix until it is well-mixed.
- Overbaking This is the enemy to a brownie that has gone gooey. Pay attention to the baking time, and use the toothpick test to determine. A little underbaked is more desirable than overbaked.
- Don’t let the brownies cool down: Cut into hot brownies is tempting, but they’ll need time to firm and set. The patience is essential to create perfect-shaped squares. Research suggests that letting brownies cool completely may enhance structural integrity by up to 30 percent.
- Substituting Stevia for other sweeteners, without altering: Different zero-calorie sweeteners have different levels of sweetness and baking characteristics. If you’re substituting, make sure to research the right conversion ratio and the potential impact on the texture. All sugar substitutes are not all created equal.
By being aware of these tips by focusing on these points, you’ll dramatically increase the chances of baking the perfect Styvia-infused brownies.
Storing Tips for the Recipe
Proper storage will ensure the delicious sweet Stevia Brownies remain fresh and delicious:
- At room temperature: Store cooled brownies in an airtight container at room temperatures for 3-4 days. Put a piece of parchment paper between the layers in case you stack them to prevent sticking.
- In the refrigerator: For a longer shelf life, keep them within an airtight, sealed container inside the refrigerator for a maximum of one week. Refrigeration can make them even more delicious!
- In the freezer: For longer storage Wrap each brownie tightly in plastic wrap and put the brownies in freezer safe bag container. You can freeze them for up to three months. Freeze at room temperature, or warm gently in the microwave.
These easy storage tricks allow you to indulge in guilt-free food when the craving hits.
Conclusion
You’ve got it – seven compelling reasons to believe that Stevia brownies are the perfect indulgence that is guilt-free. From less carbs and a lack of added sugar to their simple cooking time and delicious taste They are an alternative to satisfying your craving for sweets. The recipe we have developed, created with care and designed to ensure the best results, makes it simple to bake healthy brownies right at home. Are you ready to transform your dessert experiences?
Try the Stevia brownie recipe a go and find out how tasty and healthy it can be. Have you baked an entire batch? We’d like to hear about it! Send us your feedback and photos with us in the comment section below. Are you looking for recipes for healthy baking? Check out our blog posts on sugar-free baking and gluten-free cakes. Your journey to indulgence that is guilt-free is today!
FAQs
Here are the solutions to a few frequently asked questions regarding making and eating Stevia brownies:
Q: Do Stevia brownies taste just as normal brownies?
A: Although they provide an intense chocolate flavor and soft feel, Stevia brownies might be slightly sweeter in characteristics compared to brownies made from refined sugar. Stevia’s sweetness may leave a slight aftertaste for certain people. The amount of Stevia you use can be adjusted according to your own personal taste.
A: Is it possible to make use of other sugar substitutes, other than Stevia?
A: Yes, you can. But, different sweeteners such monk fruit, erythritol or a mixture may have different sweetness levels and could affect the texture of brownies in different ways. Make sure you read the conversion guidelines of the specific sweetener you’re using and be ready for small deviations in final results.
Q What caused my Stevia brownies come out dry?
A overbaking issue is the most frequent cause of dry brownies. Baking slightly underdone can produce a moister and gooier outcome. Make sure the oven’s temperature is correct (consider using a thermometer for your oven).
Q Do I have the option of adding mixed-ins like nuts?
A: Absolutely! Nuts sugar-free chocolate chips dried fruits (in moderation because of natural sugars) or sugar-free sweets are all able to be incorporated into the batter during Step 6.
Q Is Stevia browniessuitable for diabetics?
A: Even though Stevia brownies do not contain added sugar, Stevia brownies have no extra sugar, they have fat and carbohydrates. Diabetics should be mindful of the amount of food they consume and take into account the total amount of carbohydrate when adding them to their diet. Consultation with a medical expert or registered dietitian advised.
Tasted it? Let us know below!
There are no reviews yet. Be the first one to write one.
